
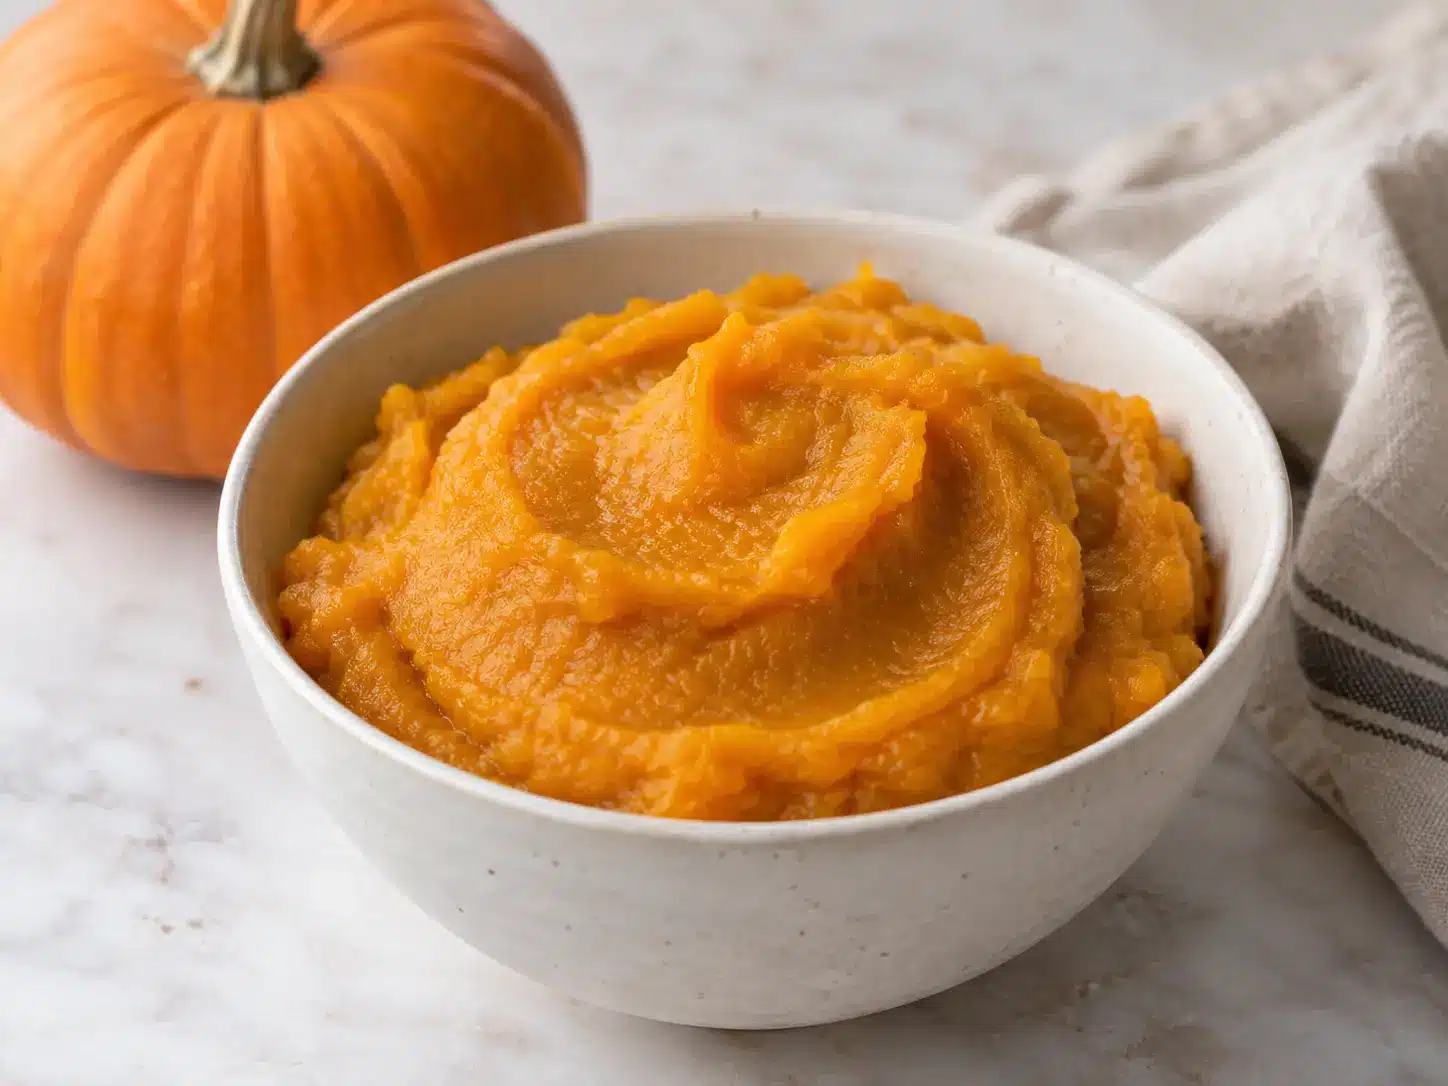
Homemade pumpkin puree is a simple, one-ingredient base you can use in both sweet and savory recipes. Roasting fresh pumpkin first softens the flesh and helps create a smooth puree that works well for baking, soups, sauces, and seasonal dishes.
The main thing to watch is the texture. Fresh pumpkin can vary in moisture, so the puree may need a little draining before it is used in recipes where consistency matters.
Below, you’ll learn how to make pumpkin puree from fresh pumpkin, how to choose the right type of pumpkin, how to adjust the texture, and how to store or freeze it for later.
What Kind of Pumpkin Is Best for Pumpkin Puree?
For homemade pumpkin puree, choose a sugar pumpkin or pie pumpkin. These smaller cooking pumpkins tend to have denser, less fibrous flesh and less excess moisture than the large pumpkins typically sold for carving, which makes them a better fit for a smooth, thick puree.
When shopping, look for a pumpkin that feels firm and has no soft or damaged spots. You may also see suitable pumpkins labeled cooking pumpkin rather than sugar or pie pumpkin.
A carving pumpkin can still be cooked, but the finished puree may be thinner or more fibrous. If that is what you have, check the consistency after blending and drain excess moisture only if needed.
Pumpkin Puree Ingredients
You only need one ingredient to make homemade pumpkin puree:
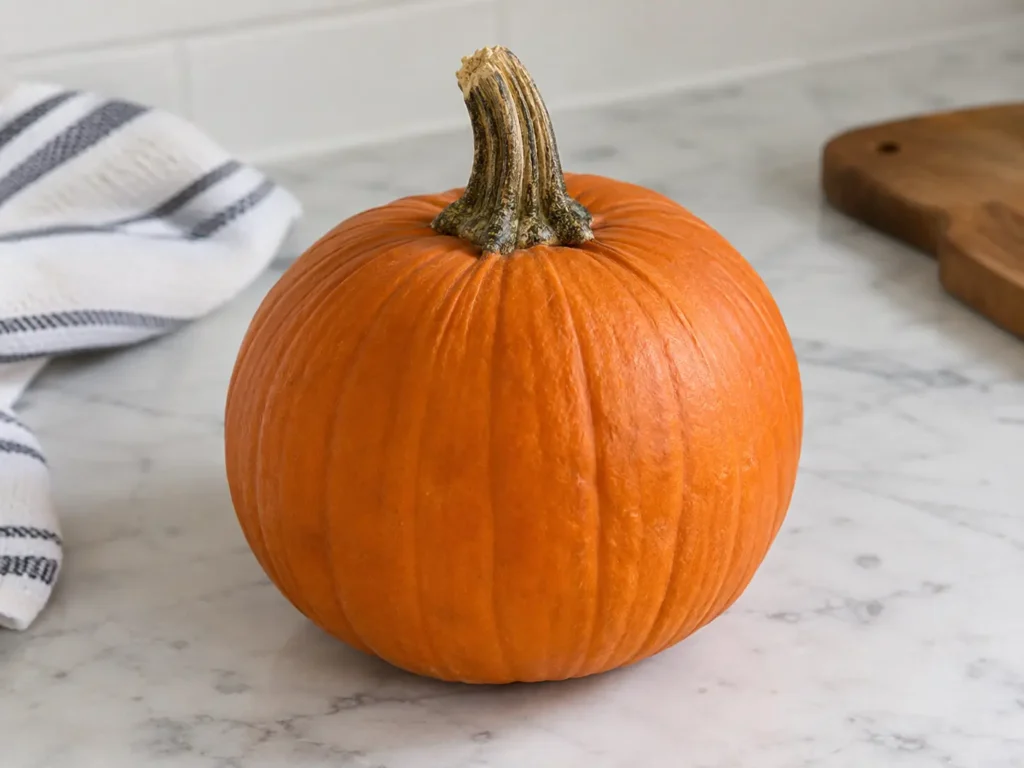
- 1 sugar pumpkin or pie pumpkin (3 to 4 pounds): Choose a firm cooking pumpkin with no soft spots or visible damage. Sugar and pie pumpkins are generally denser and less watery than large carving pumpkins, which helps produce a smoother puree.
Keeping the puree plain makes it easy to use in both sweet and savory recipes. There is no need to add sugar, spices, oil, or salt to the base recipe.
Equipment You’ll Need
You do not need any special equipment to make pumpkin puree:
- Large, sharp chef’s knife: for cutting the pumpkin safely.
- Stable cutting board: place a damp kitchen towel underneath if the board tends to slide.
- Sturdy spoon: for removing the seeds and stringy pulp.
- Rimmed baking sheet: to hold the pumpkin securely while it roasts.
- Parchment paper: for easier cleanup.
- Food processor or blender: to puree the cooked pumpkin until smooth.
- Fine-mesh strainer, optional: useful only if the finished puree has more moisture than you want.
How to Make Pumpkin Puree
Making pumpkin puree from scratch comes down to three main steps: roast the pumpkin until the flesh is completely tender, scoop it away from the skin, and blend until smooth.
1. Prep the Pumpkin
Preheat the oven to 400°F (200°C) and line a rimmed baking sheet with parchment paper.
Wash and dry the pumpkin, then place it on a stable cutting board. Using a sharp chef’s knife, cut down one side of the pumpkin beside the stem rather than trying to cut through the hard stem itself. Rotate the pumpkin and continue the cut on the opposite side until you can separate it into two halves.
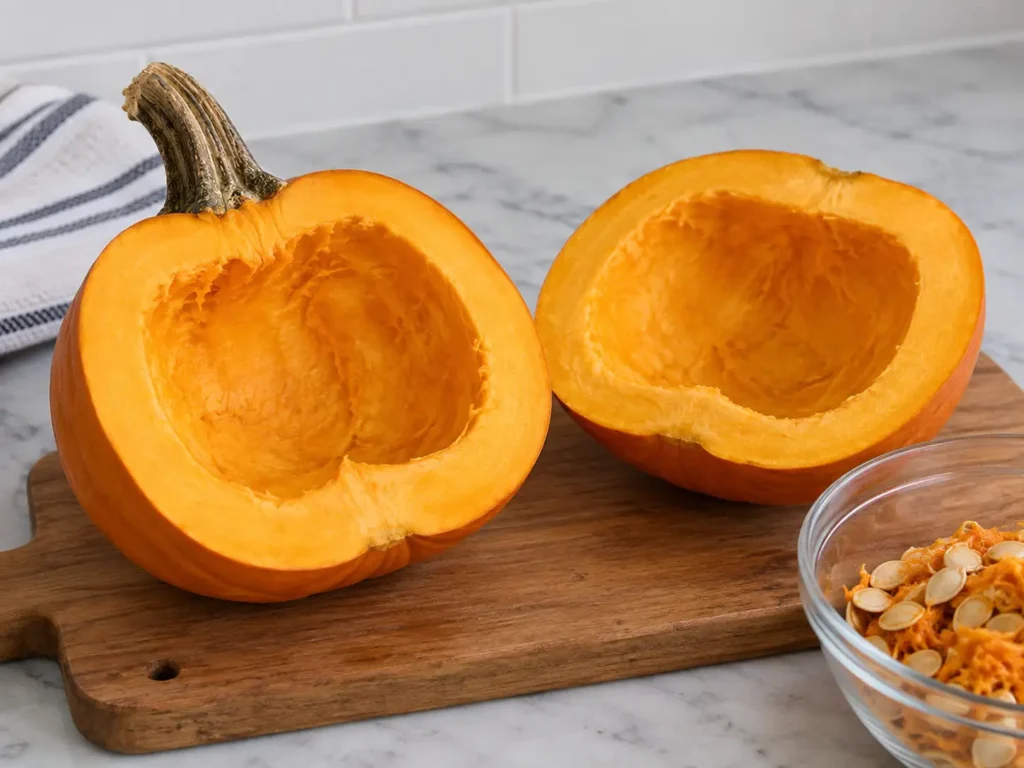
Scoop out the seeds and stringy center with a sturdy spoon. Save the seeds for roasting if you like.
2. Roast Until Very Tender
Place the pumpkin halves cut-side down on the prepared baking sheet. No oil or seasoning is needed.
Roast until the flesh is completely tender and a small knife or fork slides easily into the thickest part. Begin checking after about 45 minutes; depending on the size and density of the pumpkin, it may need closer to 60 minutes.
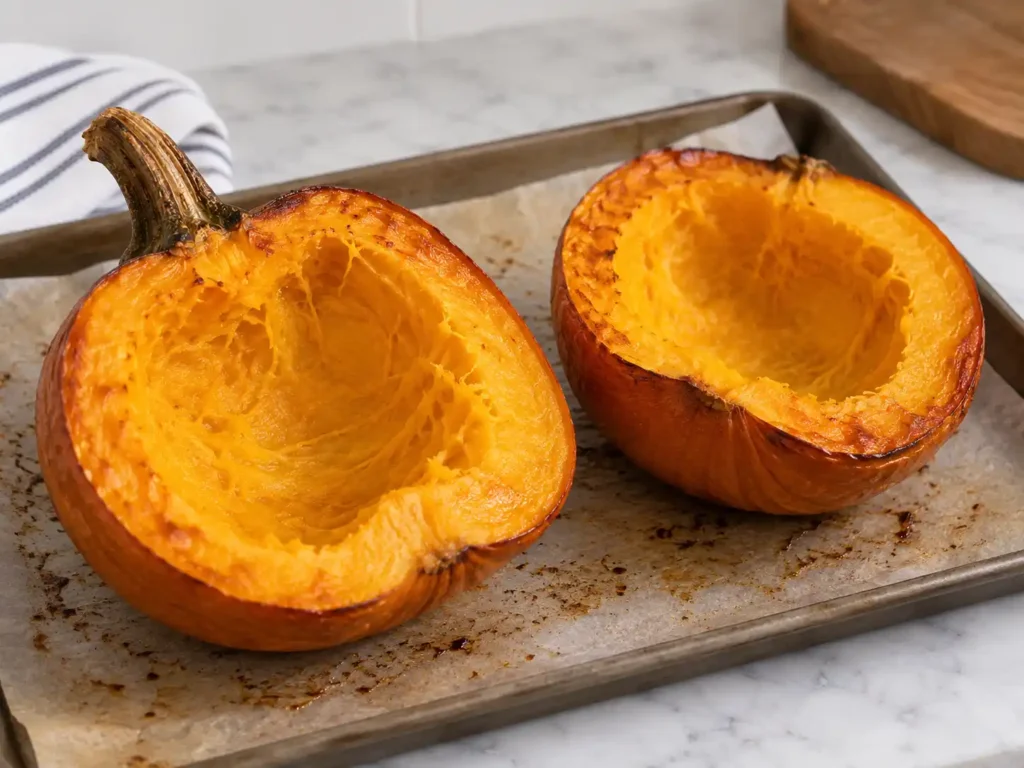
The tenderness matters more than the exact cooking time. If the flesh still feels firm, give it more time before blending.
3. Cool and Scoop Out the Flesh
Let the roasted pumpkin cool until it is comfortable to handle.
Use a large spoon to scoop the soft flesh away from the skin. You do not need to peel the pumpkin before roasting—the cooked flesh should separate much more easily once it is tender.
Transfer the flesh to a food processor or blender and discard the skin.
4. Blend Until Smooth
Process the pumpkin until the puree looks smooth and even, stopping to scrape down the sides as needed.
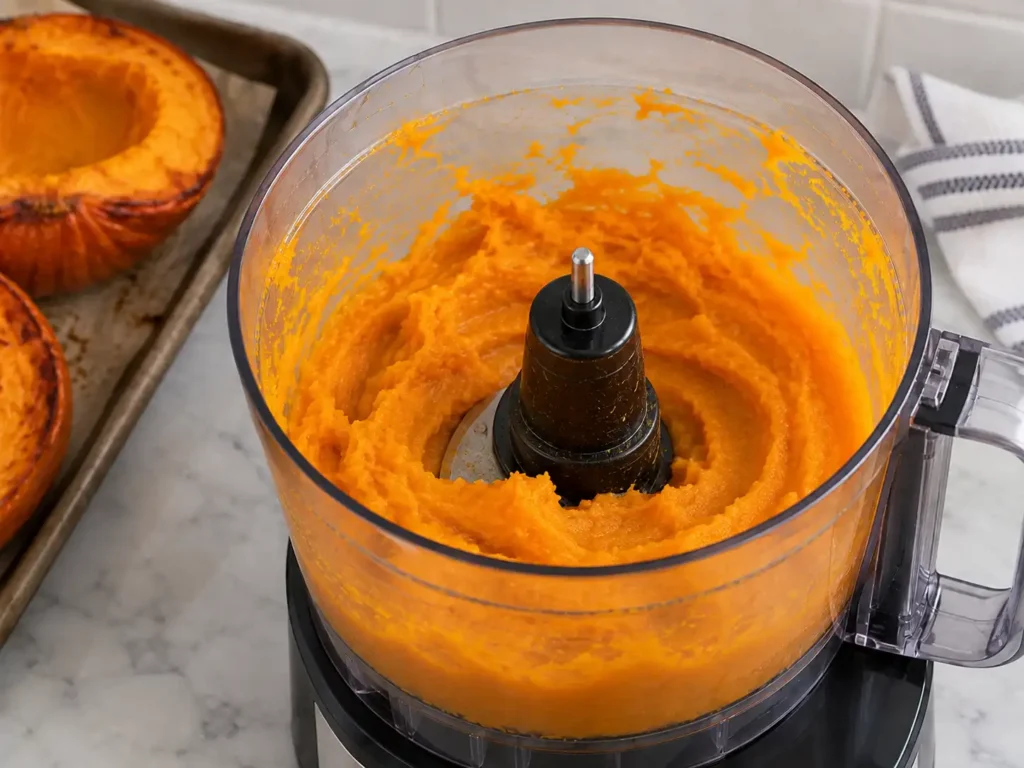
Avoid adding water right away. If the pumpkin seems very thick, blend it a little longer first; additional processing is often enough to improve the texture.
5. Check the Texture
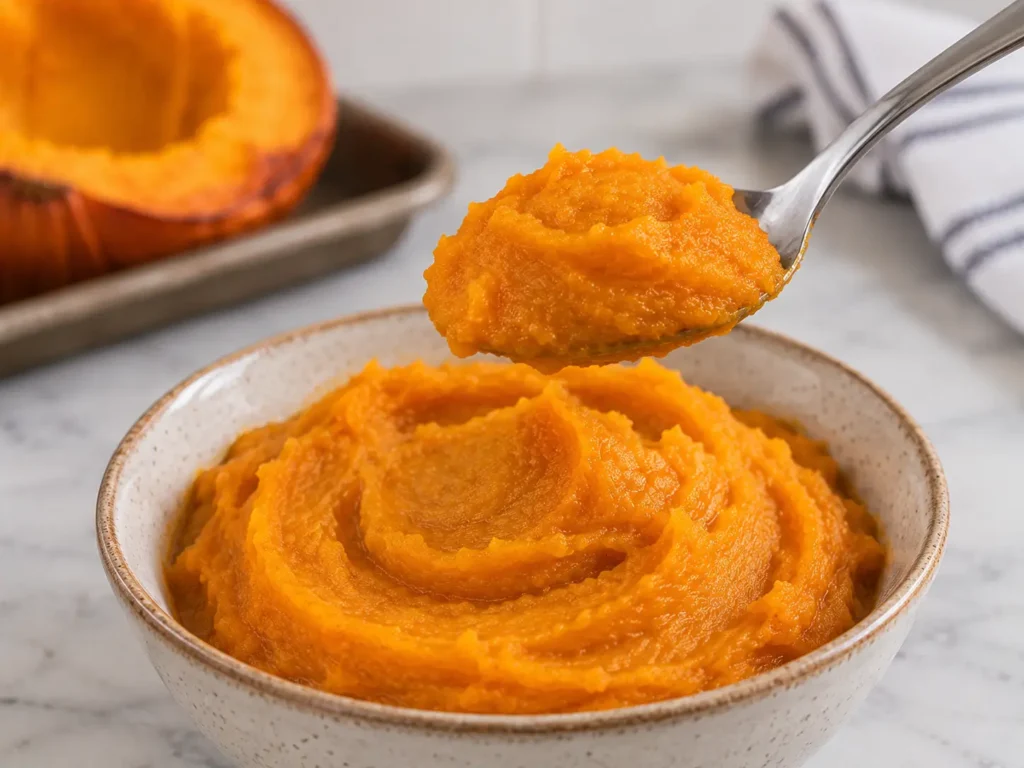
Spoon some of the puree onto a plate or into a bowl. It should be smooth and thick enough to hold its shape rather than spreading like a thin sauce.
If it looks noticeably watery, do not automatically discard the batch. The amount of moisture varies from pumpkin to pumpkin, and the next section explains when draining helps and when it is unnecessary.
How to Get the Right Pumpkin Puree Consistency
Homemade pumpkin puree can vary in thickness because fresh pumpkins do not all contain the same amount of moisture. Before draining it, check how the puree looks and think about how you plan to use it.
For baking: The puree should be thick, smooth, and spoonable. If it spreads quickly or releases visible liquid, let it drain in a fine-mesh strainer before using it in muffins, cakes, quick breads, or other baked recipes. Too much extra moisture can affect the texture of the finished bake.
For soups and sauces: A slightly looser puree is usually easier to work with, so draining may not be necessary.
If the puree looks very thick: Blend it a little longer before adding water. The texture often becomes smoother with additional processing.
If the puree looks watery: Set a fine-mesh strainer over a bowl, add the puree, and let some of the excess liquid drain away. Check it periodically rather than relying on a fixed draining time, since the amount of moisture can vary from one pumpkin to another.
A useful visual cue is that puree intended for baking should hold a soft mound on a spoon rather than pour like a sauce.
How to Make Pumpkin Puree (Easy Homemade Recipe)
- Total Time: 1 hour 20 minutes
- Yield: 2 to 3 cups 1x
- Diet: Vegan
Description
Learn how to make smooth homemade pumpkin puree from a fresh sugar or pie pumpkin using a simple oven-roasting method.
Ingredients
1 sugar pumpkin or pie pumpkin (3 to 4 pounds)
Instructions
- Preheat the oven to 400°F (200°C) and line a rimmed baking sheet with parchment paper.
- Prepare the pumpkin. Wash and dry it, then place it on a stable cutting board. Cut down one side beside the hard stem, rotate the pumpkin, and continue the cut on the opposite side until you can separate it into two halves. Scoop out the seeds and stringy center.
- Roast cut-side down until the flesh is completely tender and a knife or fork slides in easily. Begin checking around 45 minutes; larger or denser pumpkins may need closer to 60 minutes.
- Cool for about 10 minutes, then scoop the flesh away from the skin.
- Blend until smooth, scraping down the sides as needed.
- Check the consistency. If the puree is loose or watery, drain it in a fine-mesh strainer until it reaches the texture needed for your recipe.
- Use or store. Use the puree right away, or transfer it to an airtight container and refrigerate once completely cool.
Notes
Pumpkin choice: Sugar or pie pumpkins generally produce a denser puree than large carving pumpkins.
Doneness: Use tenderness rather than the clock as your main guide.
For baking: If the puree is noticeably thinner than canned pumpkin, drain excess moisture before measuring it.
For soups and sauces: A slightly looser puree usually does not need to be drained.
Keep it plain: Do not add sugar, spices, oil, or salt if you want the puree to work in both sweet and savory recipes.
Storage: Refrigerate the puree in an airtight container and use it within 3 to 4 days. Freeze it for longer storage.
- Prep Time: 10 minutes
- Cooling Time: 10 minutes
- Cook Time: 60 minutes
- Category: Basics
- Method: Roasting
- Cuisine: American
Homemade Pumpkin Puree vs. Canned Pumpkin
Homemade pumpkin puree and canned pumpkin puree can both work well in recipes, but they are not always identical in texture.
Homemade pumpkin puree can vary depending on the type of pumpkin and how much moisture it contains. One batch may be thick enough to use right away, while another may need a little draining before it works well in baking.
Canned pumpkin puree is usually more consistent in texture, which can make it convenient for recipes where moisture matters, such as pies, cakes, muffins, and quick breads.
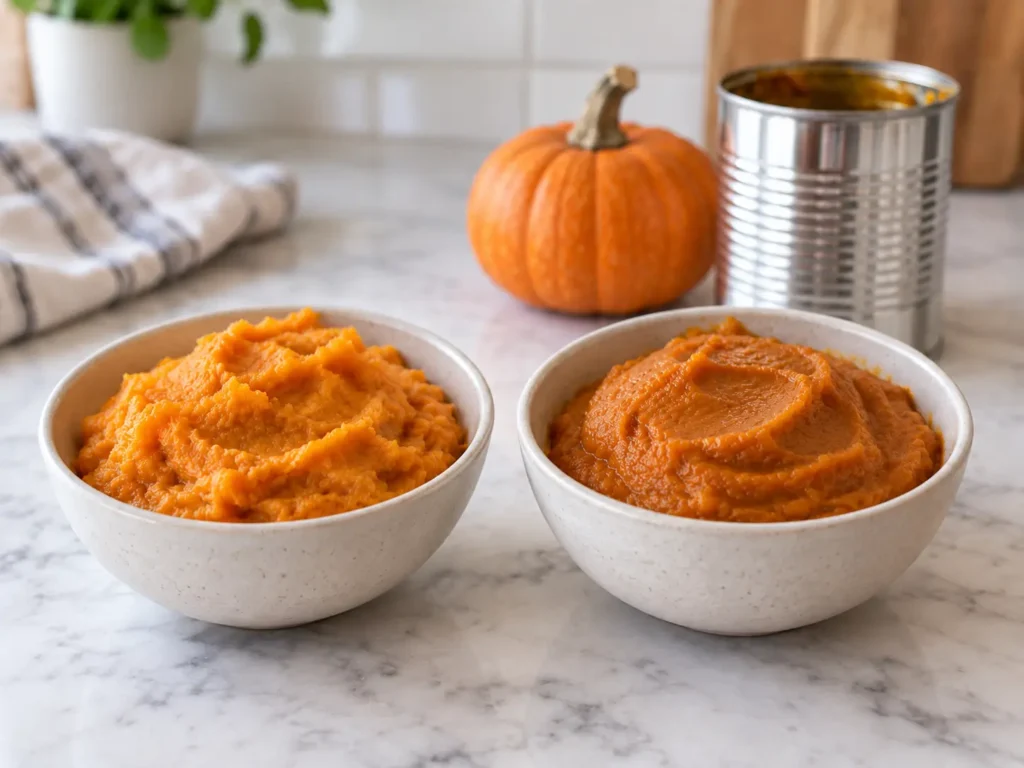
If you want to replace canned pumpkin with homemade puree, compare the texture first. When the homemade puree is similarly thick and smooth, it can generally be used in the same amount. If it looks noticeably looser, drain off some of the excess moisture before measuring it for the recipe.
Also make sure the can says 100% pumpkin or pumpkin puree, not pumpkin pie filling. Pumpkin pie filling is already sweetened and seasoned, so it is not a direct substitute for plain puree.
Ways to Use Pumpkin Puree
Pumpkin puree works in both sweet and savory recipes. The best use depends partly on its consistency, so check the texture before adding it to a recipe.
- Baking: Use a thick, well-drained puree in pumpkin bread, muffins, cakes, pancakes, waffles, and other baked recipes where extra moisture can affect the texture.
- Pies and cheesecakes: A smooth, thick puree is the better choice for fillings that need to set properly.
- Soups and sauces: A slightly looser puree works well here and usually does not need to be drained first.
- Breakfasts: Stir a spoonful into oatmeal or blend it into a smoothie when you have a small amount left over.
- Desserts: Use it in puddings, custards, parfaits, or other recipes that call for plain pumpkin puree.
If you want to use a larger portion, try it in this pumpkin dump cake. That recipe calls for plain pumpkin puree rather than pumpkin pie filling.
How to Store and Freeze Pumpkin Puree
Let the pumpkin puree cool, then transfer it to a clean airtight container and refrigerate it within 2 hours.
Refrigerate
Store homemade pumpkin puree in the refrigerator and use it within 3 to 4 days. Stir it before using if a little moisture separates during storage. FoodSafety.gov recommends using refrigerated cooked leftovers within this time frame.
Freeze
For longer storage, transfer the cooled puree to freezer-safe containers or bags. Leave a little room for expansion, seal well, label with the date, and freeze.
The National Center for Home Food Preservation specifically recommends freezing cooked, mashed pumpkin for longer-term storage.
Thaw the puree in the refrigerator, then stir it well before using. If it releases some liquid after thawing, check the consistency and drain only if your recipe needs a thicker puree.
Can You Can Pumpkin Puree?
Home canning is not recommended for mashed or pureed pumpkin. The National Center for Home Food Preservation explains that pumpkin puree can vary too much in thickness for one reliable home-canning process. Their current guidance is to can pumpkin only in tested cubed form or freeze mashed or pureed pumpkin instead.
Pumpkin Puree FAQs
No. Plain pumpkin puree is cooked pumpkin with no added sugar or spices. Pumpkin pie filling is already sweetened and seasoned, so it should not be used as a direct replacement when a recipe calls for plain pumpkin puree.
Usually, yes. If the homemade puree is thick and smooth, it can generally replace canned pumpkin in the same amount. If it looks noticeably wetter, drain some of the excess moisture before measuring it for baking.
No. Roast the pumpkin with the skin on, then scoop the softened flesh away from the skin after cooking. This is easier than peeling a raw pumpkin.
Roasting is a good choice when you want a thicker puree because the pumpkin is not sitting in cooking water. Boiling can introduce more moisture, which may mean the finished puree needs additional draining before it is used in baking.
Yes. Once the pumpkin is very tender, you can mash the flesh with a potato masher or fork. The texture may be slightly less smooth than puree made in a food processor or blender, but it can still work well in many recipes.
1 thought on “How to Make Pumpkin Puree (Easy Homemade Recipe)”